Xiaomi Redmi AX6000: Firmware Collection and SSH Guide

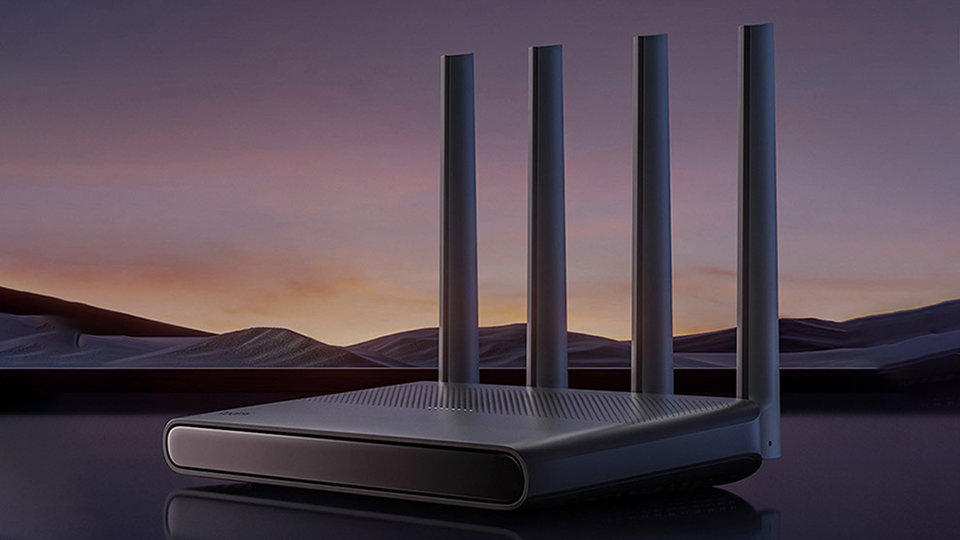
The Redmi AX6000 uses eight spatial streams, supports 160MHz bandwidth, and reaches up to 6000 megabits of wireless throughput. Compared with the AX3000, it doubles the connection rate and increases coverage distance by about 40%.
If you need the exact router for this guide, see the Redmi AX6000 on Shopee.
It is Redmi’s first router with an eight-channel signal amplifier. Inside is a quad-core MediaTek Filogic 830 at 2GHz per core, 512MB RAM, and support for up to 248 simultaneous devices. It has four adaptive network ports, supports LAN aggregation and IPTV, and can be managed through the Xiaomi mobile app.
📂 Overview ▼
||||| |—|—|—| |General|Name|Xiaomi Redmi AX6000| |||Model|RB06| |Hardware|CPU|MediaTek Filogic 830 MT7986A| |||CPU speed|2GHz × 4 cores| |||Bootloader|U-Boot| |||Flash|128MB SPI-NAND| |||RAM|512MB DDR4| |Network|WAN/LAN|4 × 1G ports| |||Switch|MT7531A| |||VLAN|Yes| |Wireless|2.4GHz|MT7976GN a/g/n/ax 4T4R| |||5GHz|MT7976AN a/n/ac/ax 4T4R| |||Antennas|8|
I. Firmware collection
I.1 Stock ROM
| Version | Download |
|---|---|
| 1.0.48 (April 7, 2022) | Xiaomi |
| 1.0.60 (July 17, 2022) | Xiaomi |
| 1.0.67 (February 8, 2023) | Xiaomi |
I.2 OpenWrt
The Redmi AX6000 is officially supported by OpenWrt; see the OpenWrt hardware page. The version available when this article was written was 23.05.2.
Two OpenWrt layouts are available:
- The stock-bootloader layout is easier to install and can return to stock with MiWiFiRepair Tools, but less free storage is available because a backup partition consumes space.
- The second layout provides nearly twice the free storage but replaces more system partitions. Returning to stock requires more steps; see the installation guide.
I.3 X-WRT
X-WRT is an OpenWrt-based router firmware for ordinary users, with usability improvements and a simplified routing system.
It also has stock-bootloader and U-Boot Mod layouts. On x-wrt.com, look for:
Xiaomi Redmi Router AX6000 (stock layout)Xiaomi Redmi Router AX6000 (uboot layout)
See the installation guide.
I.4 Closed-source driver firmware
This firmware uses a closed-source Wi-Fi driver and is compiled by a community developer known as user 237176253 on right.com.cn. The default interface is Chinese.
- Recent updates include IPv6 hardware acceleration and application filtering, as well as Network QoS support with hardware acceleration.
- Download: link, password:
6wnv. - More information and flashing instructions: right.com.cn.
I.5 ImmortalWrt by hanwckf
See the details at right.com.cn.
II. OpenSSH guide
There are two ways to enable SSH:
- Method 1: Manual steps, giving you control over every change.
- Method 2: The automated XMIR-PATCHER tool.
Method 1: Manual
II.1 Downgrade to a vulnerable firmware
If the router runs a version newer than 1.0.60, use MiWiFiRepair Tools to roll back to 1.0.60 or, preferably, 1.0.48.
II.2 Get the token
Log in to the management interface at 192.168.31.1. The URL contains a stok token:
http://192.168.31.1/cgi-bin/luci/;stok=d2d55f6e595e236044bfff0b444e2c51/web/home#router
Copy the token from the highlighted section.
II.3 Root the router and enable SSH
Connect the router to the PC over LAN.
II.3.a Enable debug/development mode
Xiaomi routers have a crash partition. Writing the magic bytes \xa5\x5a\x00\x00 to it enables development mode and allows the bdata environment to be changed. These variables control whether telnet, UART, and SSH are enabled.
Replace the token in both URLs below and run them in order.
- Write the magic bytes to
crash:
http://192.168.31.1/cgi-bin/luci/;stok=d2d55f6e595e236044bfff0b444e2c51/api/misystem/set_sys_time?timezone=%20%27%20%3B%20echo%20pVoAAA%3D%3D%20%7C%20base64%20-d%20%7C%20mtd%20write%20-%20crash%20%3B%20
- Reboot:
http://192.168.31.1/cgi-bin/luci/;stok=d2d55f6e595e236044bfff0b444e2c51/api/misystem/set_sys_time?timezone=%20%27%20%3b%20reboot%20%3b%20
II.3.b Change Bdata environment variables
Change telnet_en, ssh_en, and uart_en in bdata to enable access.
- Enable telnet, SSH, and UART:
http://192.168.31.1/cgi-bin/luci/;stok=d2d55f6e595e236044bfff0b444e2c51/api/misystem/set_sys_time?timezone=%20%27%20%3B%20bdata%20set%20telnet_en%3D1%20%3B%20bdata%20set%20ssh_en%3D1%20%3B%20bdata%20commit%20%3B%20
If you need UART logs, use a USB-to-TTL adapter such as this FT232. Connect only GND, RX, and TX; do not connect VCC until the voltage is verified.
- Reboot using the second URL above.
II.3.c Disable debug/development mode (optional)
Some features may not work correctly while development mode is enabled. You can erase crash while leaving telnet, SSH, and UART enabled:
http://192.168.31.1/cgi-bin/luci/;stok=d2d55f6e595e236044bfff0b444e2c51/api/misystem/set_sys_time?timezone=%20%27%20%3b%20mtd%20erase%20crash%20%3b%20
II.3.d Enable SSH
After telnet is enabled, connect with PuTTY to 192.168.31.1, port 23.
Edit /etc/init.d/dropbear with:
vi /etc/init.d/dropbearFind and delete:
if [ "$flg_ssh" != "1" -o "$channel" = "release" ]; then return 0fiPress a to edit, remove the three lines, press ESC, enter :wq!, and press Enter. Start SSH:
/etc/init.d/dropbear startSSH is now available at 192.168.31.1, port 22.
Method 2: XMIR-PATCHER
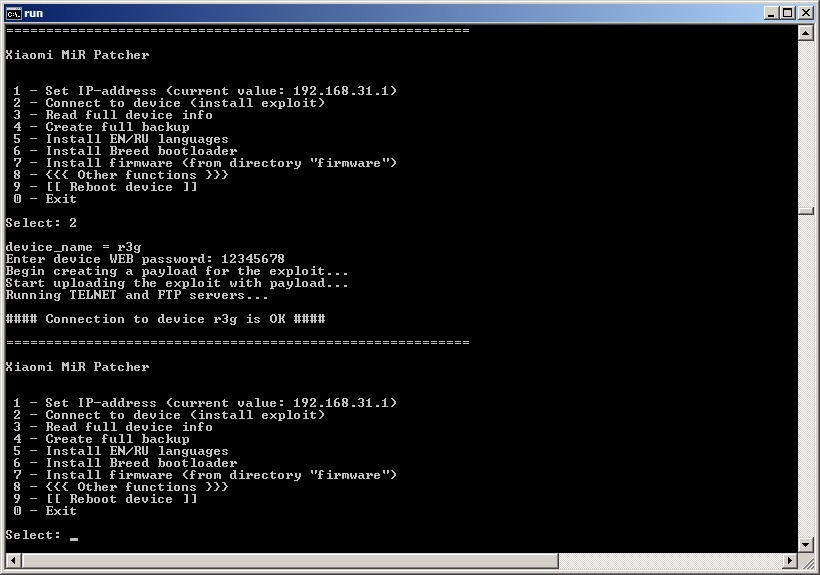
Download the xmir-patcher archive, extract it, run run.bat, and follow the prompts. See the author’s GitHub repository.
After starting the tool:
- Choose
1and enter the router IP (192.168.31.1). - Choose
2to enable temporary SSH; it will be lost after reboot.
Comments & Discussion
Share your thoughts, ask questions and feedback