Install AdGuard Home on OPNsense

Outdated
- See the OPNsense configuration series.
- To redirect all client DNS queries through AdGuard Home, see Redirect all DNS queries to OPNsense.
📂 Important notes ▼
- Basic command-line and SSH knowledge is required.
- Copy and type commands carefully. A mistake can make the installation fail or require OPNsense to be reinstalled.
- You can use Windows PowerShell, PuTTY, Linux Terminal, or an Android SSH client such as Termius or ConnectBot.
- Connect the computer to OPNsense by LAN or Wi-Fi; it must be on the same network.
- This guide uses
192.168.1.1as the example OPNsense address.
Step 1: Configure DNS and enable SSH
Enable SSH
- Log in to
https://192.168.1.1. - Open System > Settings > Administration.
- Under Secure Shell, enable SSH, select the
wheel,adminslogin group, and enable Permit root user login and Permit password login. - Leave other options at their defaults and click Save.
Configure DNS
- Open System > Settings > General.
- Add Google DNS (
8.8.8.8,8.8.4.4) or Cloudflare DNS (1.1.1.1,1.0.0.1) under DNS Servers. - Enable Do not use the local DNS service as a nameserver for this system and save.
Disable Unbound DNS
Unbound normally uses port 53. Disable it so AdGuard Home can listen on port 53:
- Open Services > Unbound DNS > General.
- Clear Enable Unbound and click Save.
- Reboot OPNsense from Power > Reboot.
Step 2: Download and install AdGuard Home
This example uses a terminal. When copying commands, do not copy the leading $ prompt.
Connect over SSH:
ssh [email protected]Enter the password and choose option 8 to open the shell.
Open the official AdGuard Home releases page and copy the newest AdGuardHome_freebsd_amd64.tar.gz link. OPNsense uses FreeBSD and this example assumes 64-bit AMD64.
Download it:
fetch <paste-the-release-link-here>Example:
fetch https://github.com/AdguardTeam/AdGuardHome/releases/download/v0.104.3/AdGuardHome_freebsd_amd64.tar.gzExtract and make it executable:
tar -vxzf ./AdguardHome_freebsd_amd64.tar.gzcd ./AdGuardHomechmod a+x ./AdGuardHomeStart the first-time setup:
./AdGuardHomeOpen http://192.168.1.1:3000 in a browser.
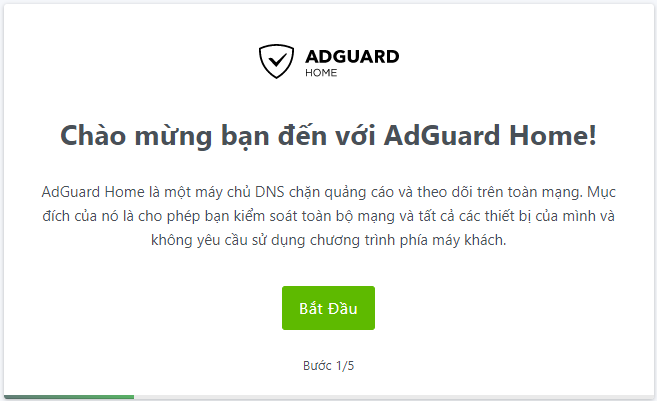
Choose a different Web Admin port such as 8080, keep the DNS port at 53, and create the administrator account. Then open http://192.168.1.1:8080 and log in.
Press Ctrl+C in the terminal to stop AdGuard Home after the initial setup.
Step 3: Start AdGuard Home with OPNsense
This step makes AdGuard Home start automatically. If it is skipped, clients may lose DNS after an OPNsense reboot.
Download the init script:
cd /etc/rc.d/fetch https://gist.githubusercontent.com/NghiaMaster/d4487479708418f85b1c1c90fdaa0185/raw/b5d37d07be15056d4173dc2134d94d9626ba2463/adguardhomechmod a+x ./adguardhomeecho "adguardhome_enable='YES'" >> ../rc.confReview the script before enabling it:
#!/bin/sh. /etc/rc.subrname="adguardhome"rcvar="adguardhome_enable"adguardhome_user="root"adguardhome_command="/root/AdGuardHome/AdGuardHome"pidfile="/var/run/${name}.pid"command="/usr/sbin/daemon"command_args="-P ${pidfile} -r -f ${adguardhome_command}"load_rc_config $name: ${adguardhome_enable:=no}run_rc_command "$1"Start and check the service:
service adguardhome startservice adguardhome statusThe message adguardhome is running as pid xxxxx. indicates that it is running.
After basic installation, AdGuard Home can be extended with DoT, DoH, HTTPS, and reverse DNS. Those features may require a domain and DDNS; see the Cloudflare DDNS and Let’s Encrypt guide.
Comments & Discussion
Share your thoughts, ask questions and feedback