Install AdGuard Home on OPNsense

{{< notice “warning” >}} Outdated {{< /notice >}}
{{< notice “tip” >}}
- See the OPNsense configuration series.
- To redirect all client DNS queries through AdGuard Home, see Redirect all DNS queries to OPNsense. {{< /notice >}}
{{< collapse “Important notes” >}}
- Basic command-line and SSH knowledge is required.
- Copy and type commands carefully. A mistake can make the installation fail or require OPNsense to be reinstalled.
- You can use Windows PowerShell, PuTTY, Linux Terminal, or an Android SSH client such as Termius or ConnectBot.
- Connect the computer to OPNsense by LAN or Wi-Fi; it must be on the same network.
- This guide uses
192.168.1.1as the example OPNsense address. {{< /collapse >}}
Step 1: Configure DNS and enable SSH
Enable SSH
- Log in to
https://192.168.1.1. - Open System > Settings > Administration.
- Under Secure Shell, enable SSH, select the
wheel,adminslogin group, and enable Permit root user login and Permit password login. - Leave other options at their defaults and click Save.
Configure DNS
- Open System > Settings > General.
- Add Google DNS (
8.8.8.8,8.8.4.4) or Cloudflare DNS (1.1.1.1,1.0.0.1) under DNS Servers. - Enable Do not use the local DNS service as a nameserver for this system and save.
Disable Unbound DNS
Unbound normally uses port 53. Disable it so AdGuard Home can listen on port 53:
- Open Services > Unbound DNS > General.
- Clear Enable Unbound and click Save.
- Reboot OPNsense from Power > Reboot.
Step 2: Download and install AdGuard Home
{{< notice “tip” >}}
This example uses a terminal. When copying commands, do not copy the leading $ prompt.
{{< /notice >}}
Connect over SSH:
ssh [email protected]Enter the password and choose option 8 to open the shell.
Open the official AdGuard Home releases page and copy the newest AdGuardHome_freebsd_amd64.tar.gz link. OPNsense uses FreeBSD and this example assumes 64-bit AMD64.
Download it:
fetch <paste-the-release-link-here>Example:
fetch https://github.com/AdguardTeam/AdGuardHome/releases/download/v0.104.3/AdGuardHome_freebsd_amd64.tar.gzExtract and make it executable:
tar -vxzf ./AdguardHome_freebsd_amd64.tar.gzcd ./AdGuardHomechmod a+x ./AdGuardHomeStart the first-time setup:
./AdGuardHomeOpen http://192.168.1.1:3000 in a browser.
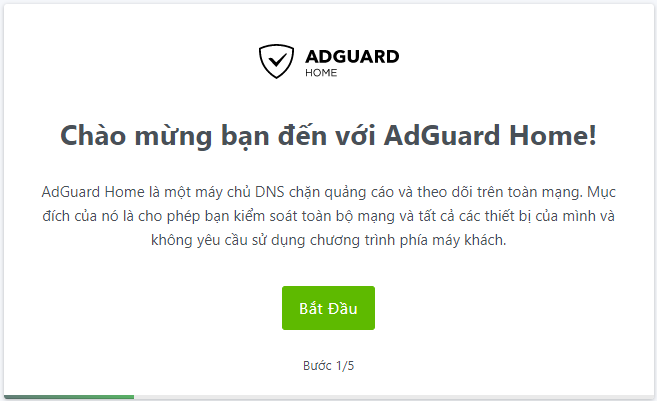
Choose a different Web Admin port such as 8080, keep the DNS port at 53, and create the administrator account. Then open http://192.168.1.1:8080 and log in.
Press Ctrl+C in the terminal to stop AdGuard Home after the initial setup.
Step 3: Start AdGuard Home with OPNsense
This step makes AdGuard Home start automatically. If it is skipped, clients may lose DNS after an OPNsense reboot.
Download the init script:
cd /etc/rc.d/fetch https://gist.githubusercontent.com/NghiaMaster/d4487479708418f85b1c1c90fdaa0185/raw/b5d37d07be15056d4173dc2134d94d9626ba2463/adguardhomechmod a+x ./adguardhomeecho "adguardhome_enable='YES'" >> ../rc.confReview the script before enabling it:
#!/bin/sh. /etc/rc.subrname="adguardhome"rcvar="adguardhome_enable"adguardhome_user="root"adguardhome_command="/root/AdGuardHome/AdGuardHome"pidfile="/var/run/${name}.pid"command="/usr/sbin/daemon"command_args="-P ${pidfile} -r -f ${adguardhome_command}"load_rc_config $name: ${adguardhome_enable:=no}run_rc_command "$1"Start and check the service:
service adguardhome startservice adguardhome statusThe message adguardhome is running as pid xxxxx. indicates that it is running.
{{< notice “info” >}} After basic installation, AdGuard Home can be extended with DoT, DoH, HTTPS, and reverse DNS. Those features may require a domain and DDNS; see the Cloudflare DDNS and Let’s Encrypt guide. {{< /notice >}}
Comments & Discussion
Share your thoughts, ask questions and feedback