

This rewrite follows the source tutorial in four sections: preparing VMware, creating the VM, installing macOS, and installing VMware Tools. The procedure requires a CPU with AVX2 support. Running macOS on non-Apple hardware may also be restricted by Apple's license and VMware compatibility, so use it only lawfully. Take a snapshot before editing .vmx.
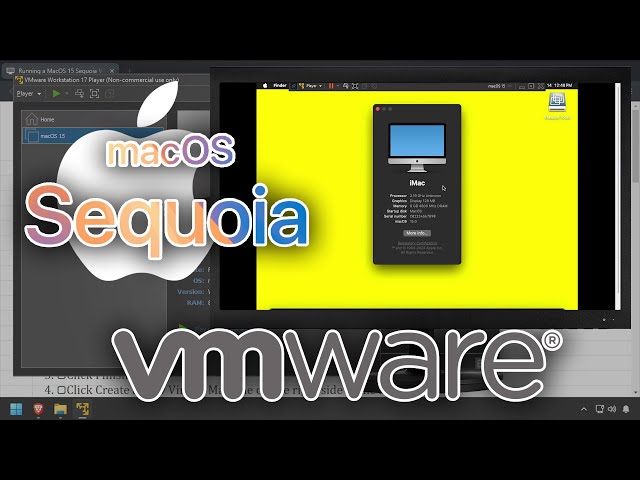
Prepare VMware and the Unlocker
- Obtain a macOS Sequoia ISO lawfully, or create one using the source video .
- Download VMware Workstation Player and MacOS Unlocker .
- Install VMware with the default options.
- Extract the Unlocker, right-click
Unlocker.exe, choose Run as administrator, and click Patch. - Wait for patching to finish.
Create the Sequoia VM
- Launch VMware, choose Continue for free non-commercial use, then click Finish.
- Choose Create a New Virtual Machine.
- Select Installer disc image file (iso), browse to the ISO, and click Next.
- Select Apple Mac OS X and
macOS 13, or the closest version to macOS 15, then Next. - Name the VM
MacOS15, choose its storage path, and click Next. - Set the disk size, choose to store it as a single file, and click Next.
- Open Customize Hardware..., assign 8 GB or more RAM and 4 cores, and set Network Adapter: Bridged.
- Click Close > Finish. With the VM powered off, open its
.vmxfile. - Set or append:
| |
- Return to VMware, right-click
MacOS15, and choose Power On.
Install macOS Sequoia
- Select a language, then choose Disk Utility.
- Select VMware Virtual SATA Hard Drive Media and click Erase.
- Name it
MacOS, choose APFS, click Erase > Done, and close Disk Utility. - Choose Install macOS > Continue > Agree > Agree, select
MacOS, and click Install. - Wait while the VM reboots several times.
- Select the country, language, and keyboard layout.
- Choose Not Now for Accessibility and Migration Assistant; choose Continue for Data & Privacy.
- On Apple ID, choose Set Up Later > Skip.
- Accept the terms, create a local account, choose Location Services and a time zone.
- Clear Share Mac Analytics with Apple, choose Set Up Later for Screen Time, choose a theme, and reach the desktop.
Install VMware Tools
- Right-click Install macOS on the desktop and choose Eject.
- Open Player > Removable Devices > CD/DVD > Settings.
- Click Browse, open the Unlocker
toolsfolder, selectdarwin.iso, check Connected, and click OK. - In macOS, open VMware Tools and run the installer.
- Open Security, scroll down, click Allow beside VMware, and reboot.
- After rebooting, run the installer again and reboot once more after it succeeds.
Checks
Confirm that the VM can reboot, has networking, and sees its assigned resources. If it will not boot, restore the snapshot and recheck AVX2, VMware compatibility, and the .vmx lines. Do not use the sample serial as a real identity.
Sources and video
- Original tutorial: i12bretro 0945
- Original video: Running a MacOS 15 Sequoia VM in VMware
Bài viết liên quan
 Deploy draw.io as a WAR file on Windows with …
 Run Easy!Appointments with MariaDB in Docker as a …
 Install OpenVPN Access Server in Docker and …
- Run Seafile with MariaDB in Docker as a …
Góp Ý / Bình Luận / Đánh giá