

This tutorial has two storage branches: create local ZFS from a disk installed in Proxmox, then create a Windows share and register it as CIFS in Datacenter. I retain all 26 steps from the numbered HTML page; the form values are examples, so the password is replaced with [REDACTED].1
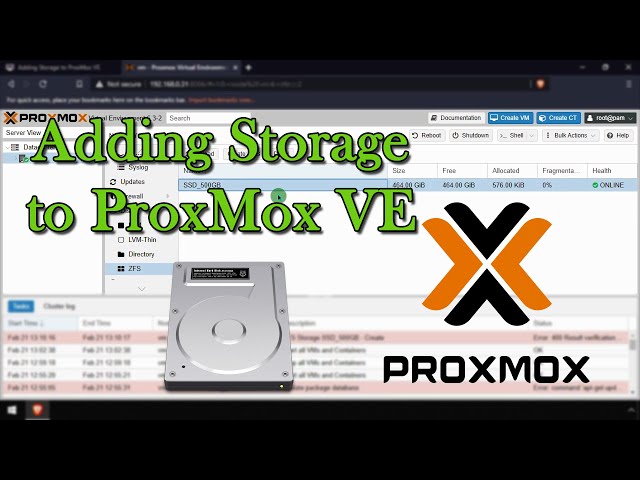
The i12bretro video title and author were validated with oEmbed and the video is not rehosted.2
1. Local storage: ZFS Single Disk (steps 1–10)
- Install the physical disk in the Proxmox server hardware.
- Power on the Proxmox server.
- Open a browser and navigate to the Proxmox web UI.
- Log in.
- Click the node with the new disk in the left navigation menu.
- Expand Disks → ZFS.
- Click Create ZFS.
- Give the ZFS storage a name and set Raid Level = Single Disk.
- Select the new disk from the drive list and click Create.
- The new disk is now available for storing VMs in the tutorial's flow.
Single Disk has no redundancy. If the disk fails, this ZFS pool is not a backup; choose another layout when fault tolerance is required.
2. Create the Windows network share (steps 11–18)
- Create or open an existing folder to share.
- Right-click the folder → Properties → Sharing → Advanced Sharing....
- Select Share this folder.
- Give the share a name, for example
ISOs. - Click Permissions.
- Remove the Everyone group.
- Add users or groups that should access the share.
- Click OK in all open dialogs.
I use a dedicated share account and grant only the required permissions rather than using a Windows administrator account.
3. Add CIFS storage in Proxmox (steps 19–26)
- Open a browser and navigate to the Proxmox web UI.
- Log in.
- Select Datacenter in the left navigation menu.
- Click Storage in the left navigation submenu.
- Click Add → CIFS.
- Complete the Add CIFS form using the fields shown by the source:
| |
- Click Add.
- Proxmox can now see the network share and use it to host operating-system ISO images.
10.10.27.1, ISOs, and i12bretro are the source's example values; replace the server, share, and user for the real network. Never commit the password.
4. Verify
In Proxmox, check the CIFS storage under Datacenter and try uploading a small ISO. On Windows, verify permissions with the exact CIFS account. The tutorial does not cover RAID recovery, snapshot policy, or SMB benchmarking; storage visibility is not proof of backup or HA.
Conclusion
The 26 steps separate local ZFS and network CIFS: the local disk uses Single Disk, the Windows share gets explicit permissions, and Proxmox receives ID, Server, Share, Max Backups, and Content. Replace every example address and credential for the HomeLab, and keep backups on a different storage system.
Sources
i12bretro tutorial 0410 – Adding Storage to ProxMox VE , revised 2024-07-25. Independently edited from the numbered HTML page; the form password is replaced with
[REDACTED]. ↩︎YouTube – Adding Storage to ProxMox VE — i12bretro video, validated with oEmbed. ↩︎
 Five i12bretro steps to find a stable disk ID, …
 An independently edited i12bretro tutorial for …
 Step-by-step guide to running Debian Sid rolling …
 Create a VM and install Home Assistant OS from a …
Góp Ý / Bình Luận / Đánh giá