

This article adapts the installation of OPNsense in VirtualBox with two network adapters for a HomeLab firewall/router test. Identify the WAN and LAN roles before connecting the VM to a physical network.
Source reference: i12bretro – Install OPNsense in VirtualBox . The original video belongs to i12bretro on YouTube .
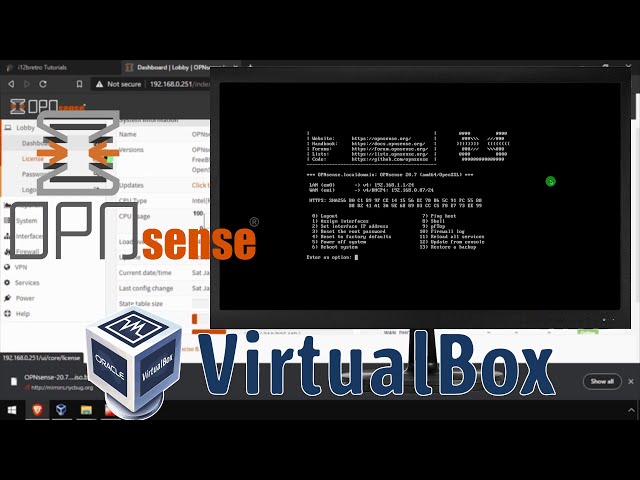
Create the virtual machine
- Download OPNsense from opnsense.org/download .
- Extract the
.bz2archive and open VirtualBox. - Select Machine > New.
- Name the VM
OPNSense, set Type toBSD, and Version toFreeBSD (64-bit). - Assign
1024 MBof memory and create a virtual hard disk. - Name the disk
OPNSense.vdi, set its size to8 GB, chooseVDI, and use Dynamically Allocated storage. - Open Settings > Display and set Video Memory to
128 MB. - Open Storage and attach the OPNsense ISO to the CD-ROM drive.
- In Network, set Adapter 1 to Bridged Adapter.
- Enable Adapter 2 and also set it to Bridged Adapter.
Install OPNsense
- Start the VM with Start > Normal and wait for the login prompt.
- Log in to the installer with
installer/opnsense. - Press Enter at the Welcome screen.
- Change the keymap or video font if necessary, then select Accept these Settings.
- Select Guided installation.
- Select the
ada0disk and chooseGPT/UEFImode. - Wait for OPNsense to copy files and complete the installation.
- Set and confirm a new root password, then choose Accept and Set Password.
- Select Reboot.
- Before rebooting, use VirtualBox Devices > Optical Drives > Remove disk from virtual drive.
- Select Machine > Reset so the VM boots from its virtual disk.
Configure the LAN and Web UI
- Log in to the terminal as
rootwith the new root password. - Select Set interface IP address by entering
2. - Select the interface that will be used as LAN.
- Enter
nat the DHCP prompt. - Enter a LAN IP on the same subnet as the management network.
- Enter bit count
24when using a/24subnet. - Leave the IPv4 upstream gateway empty.
- Enter
nfor IPv6 WAN tracking. - Enter
nfor IPv6 DHCP, then leave the IPv6 address empty. - Enter
nat the DHCP server prompt. - Enter
yat the revert-to-HTTP prompt if this is only initial setup on a trusted LAN. - Record the Web UI address shown by the terminal.
- Open that address in a browser and log in as
rootwith the new password.
Warning: Do not keep the default password. Bridged Adapter can place OPNsense directly on the physical network; assigning the two adapters incorrectly can create a loop or interrupt connectivity.
Source and video
- Original tutorial: i12bretro 0236
- Original video: Install OPNsense in VirtualBox
- OPNsense download: opnsense.org/download
Bài viết liên quan
 Basic steps for creating a two-interface pfSense …
 Force client DNS queries through the local …
- Create a VPN VLAN on OPNsense so a separate Wi-Fi …
- Configure the NordVPN client on OPNsense and route …
Góp Ý / Bình Luận / Đánh giá