Nghia Phan 28 tháng 8, 2026
Update:
28 tháng 8, 2026
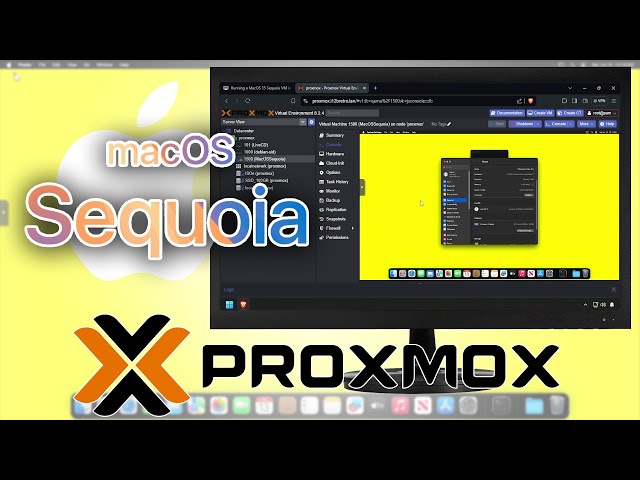
This article adapts i12bretro's complete workflow for running macOS Sequoia 15 in Proxmox VE. It is a HomeLab experiment; verify licensing, hardware compatibility, and the ability to recover the VM before using it for anything important.
Source reference:
i12bretro – Running a MacOS 15 Sequoia VM in Proxmox VE
. The original video belongs to
i12bretro on YouTube
.
Files and prerequisites A CPU with AVX2 support for macOS versions newer than 12. A legally obtained macOS Sequoia ISO. The source tutorial references
Internet Archive
; verify your own usage rights. The KVM OpenCore bootloader ISO from
KVM-OpenCore releases
. The KVM OpenCore EFI folder for the post-install EFI step. MountEFI from
GitHub
. An unused VM ID; the examples below use 1500. Create the VM in Proxmox Upload the Sequoia ISO and KVM OpenCore ISO to the Proxmox ISO library. Log into the Proxmox Web UI. Right-click the Proxmox node name and select Create VM . Set the VM name to MacOSSequoia; use VM ID 1500 if it is free, then click Next . On OS , choose Type: Other and select the KVM OpenCore ISO in ISO Image , then click Next . On System , set Graphic card to VMware compatible. Set BIOS to OVMF (UEFI). Clear Pre-Enroll Keys . Enable Add EFI Disk . Set Machine to q35. Set SCSI Controller to VirtIO SCSI, then click Next . On Hard Disk , set Bus/Device to VirtIO Block. Set the disk size to 64 GB or more. Set Cache to Write back (unsafe), then click Next . On CPU , set Cores to 4 and Type to host, then click Next . On Memory , assign 8192 MB or more, then click Next . On Network , set Model to VMware vmxnet3, then click Next . Verify the summary and click Finish . Attach the Sequoia ISO and edit the VM configuration Select MacOSSequoia and open Hardware . Choose Add > CD/DVD Drive . Select the uploaded Sequoia ISO and click Add . Right-click the Proxmox node and open Console . Edit the VM configuration. Replace 1500 if the VM ID is different: 1
nano /etc/pve/qemu-server/1500.conf
On an Intel host, append this line to the configuration: 1
args: -device isa-applesmc,osk="ourhardworkbythesewordsguardedpleasedontsteal(c)AppleComputerInc" -smbios type=2 -device qemu-xhci -device usb-kbd -device usb-tablet -global nec-usb-xhci.msi=off -global ICH9-LPC.acpi-pci-hotplug-with-bridge-support=off -cpu host,vendor=GenuineIntel,+invtsc,+hypervisor,kvm=on,vmware-cpuid-freq=on
On an AMD host, use this CPU argument instead: 1
args: -device isa-applesmc,osk="ourhardworkbythesewordsguardedpleasedontsteal(c)AppleComputerInc" -smbios type=2 -device qemu-xhci -device usb-kbd -device usb-tablet -global nec-usb-xhci.msi=off -global ICH9-LPC.acpi-pci-hotplug-with-bridge-support=off -cpu Haswell-noTSX,vendor=GenuineIntel,+invtsc,+hypervisor,kvm=on,vmware-cpuid-freq=on
Press Ctrl+W and search for ,media=cdrom. Remove ,media=cdrom from the KVM OpenCore and Sequoia ISO entries. Add cache=unsafe to the two ISO devices according to the source workflow. Press Ctrl+O , Enter, then Ctrl+X to save and exit nano. Install macOS Sequoia Return to the Proxmox Web UI, right-click MacOSSequoia, and select Start . Open Console . At the OpenCore menu, press Enter to start the installer. If Install macOS is not listed, select UEFI Shell and press Enter . In the UEFI Shell, switch to the filesystem containing the Sequoia ISO. The number may differ: Launch the installer: 1
System\Library\CoreServices\boot.efi
Wait through the initialization sequence until macOS Setup appears. Select Disk Utility . Select VIRTIO Block Media and click Erase . Name the disk MacOS, choose APFS, and click Erase . Click Done and close Disk Utility. Select Install macOS Sequoia . Click Continue , Agree , and Agree again. Select the formatted macOS disk and click Install . Wait while macOS copies files; the VM will reboot several times. Select the country or region and click Continue . Confirm the languages and keyboard layout and click Continue . Select Not Now on the Accessibility screen. Click Continue on Data & Privacy. Select Not Now on Migration Assistant. On the Apple ID screen, choose Set Up Later , then choose Skip . On Terms and Conditions, click Agree , then Agree again. Enter a name, username, and password, then click Continue . Click Continue , then choose Use or Don't Use for Location Services. Select a timezone and click Continue . Clear Share Mac Analytics with Apple and click Continue . Select Set Up Later on Screen Time. Select a theme and click Continue . Confirm that macOS Sequoia 15 has loaded.
Log into the MacOSSequoia VM. Open a browser and download the KVM OpenCore EFI folder. Download MountEFI from
GitHub
. Open LaunchPad from the dock. Search for Terminal and launch it. Run: 1
2
3
cd ~/Downloads/MountEFI-update
chmod +x MountEFI.command
./MountEFI.command
Enter the number corresponding to the macOS disk created during installation, for example 2, and press Enter . Open a Finder window. Navigate to the mounted EFI location. If an EFI folder already exists, rename it to EFI.orig as a backup. Copy the downloaded KVM OpenCore EFI folder to the mounted EFI partition. Shut down the VM after the copy completes. In Proxmox, select MacOSSequoia and open Hardware . Select the OpenCore ISO and click Detach . Select the macOS Sequoia ISO and click Detach . Right-click MacOSSequoia and select Start . Open Console and confirm that Sequoia still boots without the OpenCore disk image mounted. Warning: This is an experimental workflow. Snapshot or back up the VM configuration before updates, avoid untrusted ISO/EFI files, and verify the macOS license before use.
Source and video 

 Step-by-step guide to running Debian Sid rolling …
 Create a VM and install Home Assistant OS from a …
Góp Ý / Bình Luận / Đánh giá