Bookmark

Run Home Assistant OS as a VM on Proxmox VE

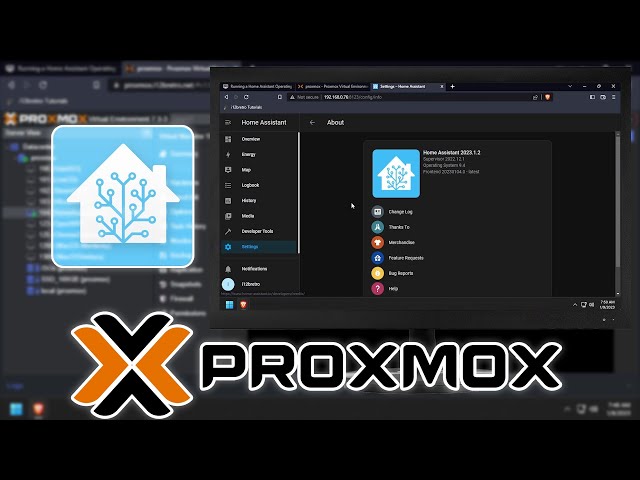
This article adapts the process of creating a Home Assistant OS (HAOS) VM on Proxmox VE, downloading the latest qcow2 image from GitHub, and importing it into Proxmox storage. The CPU and memory values are starting points; adjust them for the actual integrations and add-ons in use.

Source reference: i12bretro – Running HAOS VM in Proxmox VE . The original video belongs to i12bretro on YouTube .

Youtube video player

Create the HAOS VM on Proxmox

  1. Log into the Proxmox Web UI.
  2. Right-click the Proxmox node and select Create VM.
  3. Assign a unique VM ID and name; record the VM ID for the disk import step.
  4. On the OS tab, select Do not use any media, leaving Type as Linux and Version as 5.x - 2.6 Kernel.
  5. On the System tab, select BIOS OVMF (UEFI), enable Add EFI Disk, and disable Pre-Enroll Keys.
  6. On the Hard Disk tab, delete the default scsi0 disk.
  7. On the CPU tab, assign at least 2 cores and set Type to host.
  8. On the Memory tab, set memory to 2048 MB or more as needed.
  9. Keep the defaults on the Network tab, verify the summary, and click Finish.

Download and import the qcow2 image

  1. Select the Proxmox node and open Shell.
  2. Install the xz extraction utility:
1
2
apt update
apt install xz-utils -y
  1. Resolve the latest HAOS release image through the GitHub API:
1
2
3
regex='"browser_download_url": "(https:\/\/github.com\/home-assistant\/operating-system\/releases\/download\/[^/]*\/haos_ova-[^/]*\.qcow2\.xz)"'
response=$(curl -s https://api.github.com/repos/home-assistant/operating-system/releases/latest)
[[ $response =~ $regex ]] && downloadURL="${BASH_REMATCH[1]}"
  1. Download the image to a temporary directory and extract it:
1
2
wget -O /tmp/HAOS.qcow2.xz $downloadURL
unxz /tmp/HAOS.qcow2.xz -v
  1. Import the disk into the VM. Replace 104 with the real VM ID and SSD_100GB with a Proxmox storage name:
1
qm importdisk 104 /tmp/HAOS.qcow2 SSD_100GB

Attach the disk and boot HAOS

  1. Return to the Web UI, select the HAOS VM, and open Hardware.
  2. Double-click Unused Disk and click Add.
  3. Open Options.
  4. Double-click Boot Order, enable scsi0, and move it above net0.
  5. Click OK, then click Start.
  6. Open Console to confirm that HAOS has started.

Complete Home Assistant setup

  1. Open http://DNSorIP:8123 in a browser.
  2. Create a Home Assistant Name, Username, and Password.
  3. Name the installation, for example Home.
  4. Click Detect to set the installation location.
  5. Verify the Unit System and Currency, then click Next.
  6. Select any anonymous data to share with the Home Assistant development team.
  7. Click Finish.

Note: Do not reuse the example VM ID or storage name unless they exist on the local system. Back up Proxmox and make sure the target storage has enough free space before importing the image.

Source and video

0 Bình luận

Góp Ý / Bình Luận / Đánh giá